
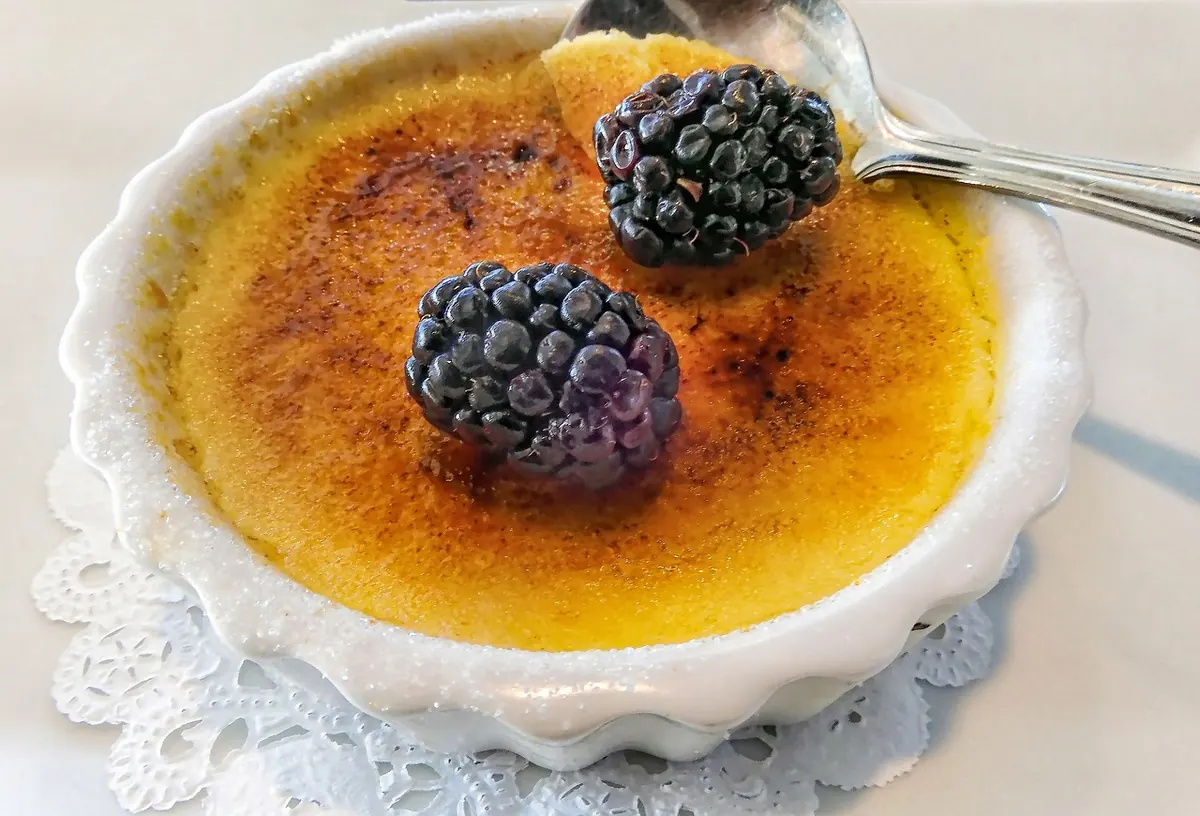
Crème brûlée is four ingredients and one very specific set of habits. The custard itself is forgiving; the details around it are not. The shape of the ramekin, the depth of the water, the moment you pull the pan from the oven, the patience you do or don't have before reaching for the torch — those decide whether you end up with a silken centre under a glassy lid of sugar or a grainy custard with a puddle on top.
What follows is the sequence I run through every time, in the order it happens. None of it is difficult. It is simply easy to skip.
Mix the Base Before the Oven Enters the Conversation
Start with a proportion worth memorising: five large egg yolks to 500 ml (2 cups) of cream, with 60 to 70 g (roughly ⅓ cup) of sugar. Yolks only — whites add water and set into something closer to a rubbery flan. Use cream, or a blend of cream and whole milk if you want a slightly lighter set, but keep the fat high enough that the finished custard tastes rich rather than merely sweet.
Flavour goes in with the cream. Split a vanilla pod and steep it as the cream heats, or stir a teaspoon and a half of good extract in off the heat. Vanilla paste gives you the visible seeds without the steeping time.
Tempering without tears
Heat the cream until it steams and small bubbles ring the edge, then pull it off before it boils. Whisk the yolks and sugar until pale and slightly thickened, and add the hot cream in a slow, thin stream, whisking the whole time. If you'd rather hedge your bets, whisk a ladleful of cream into the yolks first, then pour that mixture back into the pan. Either way, the point is to raise the temperature of the eggs gradually instead of cooking them all at once.
Now strain the custard through a fine-mesh sieve into a jug. This is the step people skip and the one that makes the most visible difference: it catches stray bits of chalaza and any yolk that seized. Skim the foam off the surface with a spoon, or leave it five minutes and skim again. Foam baked into the top sets into a spongy patch.
Ramekin Prep and a Proper Water Bath
Shallow, wide ramekins beat tall ones. Something in the 150–180 ml range gives you a better ratio of crust to custard, and it bakes evenly in less time. Deep ramekins need longer in the oven and tend to crack around the edge. You don't need to butter or flour them — the custard releases on its own.
Arrange the ramekins in a roasting pan and fill them with custard. Set the pan on the pulled-out oven rack first, then pour boiling water around them until it comes halfway up the sides. Carrying a pan of hot water across a kitchen is how people get burned, and jostling the ramekins sloshes custard over the rims. A folded dish towel on the bottom of the pan keeps everything from sliding around.
Bake Low, and Pull Early
160°C (325°F) is the right neighbourhood. For shallow ramekins, start checking at 30 minutes; deeper ones may take 45 or more. The test is a gentle nudge of the pan: the custard should wobble as a single mass with a slight ripple at the centre, not slosh like liquid. If you keep an instant-read thermometer handy, look for about 77–80°C (170–175°F) in the middle.
Overbaking is the most common cause of grainy crème brûlée, and it happens in the last five minutes. Take them out while the centre still looks a touch soft. Residual heat finishes the job.
Chill Completely, Then Chill Longer
Cool the ramekins on a rack for half an hour or so, until they're barely warm, then cover and refrigerate. Four hours is the minimum; overnight is better. A full chill firms the custard, sets the texture properly, and lets the vanilla come forward. Rushing it in the freezer gives you ice crystals and an uneven set.
Covered, they hold happily for up to three days. If anything, the flavour improves on day two. Just don't add the sugar crust until you're ready to serve — a pre-torched top turns to syrup in the fridge within an hour.
Torching the Sugar Crust
Blot the surface of each custard with a paper towel. Any moisture left behind steams under the sugar and creates soft spots.
- Sprinkle a thin, even layer of turbinado or granulated sugar — about a teaspoon per ramekin. Tilt and tap the ramekin so it spreads evenly, then pour off the excess.
- Hold the torch two to three inches from the surface and move it in slow circles. Don't park it in one place.
- Stop when the sugar bubbles, liquefies and turns amber. It keeps darkening for a few seconds after the flame leaves, so pull back early.
- Let it harden for a minute or two before serving.
Two thin layers beat one thick one. A heavy layer of sugar melts unevenly and often ends up bitter at the edges and gritty in the middle. No torch? Use the broiler on the top rack, rotating the ramekins and watching constantly — it goes from caramel to charcoal faster than you expect.
When Something Goes Wrong
- Grainy or curdled custard: the oven was too hot or the bake ran long. Next time, lower the heat and start checking earlier.
- Liquid centre after chilling: underbaked. You can't really rescue it once it's cold, but it makes an excellent sauce for fruit.
- Cracks across the top: usually a sign of overbaking or a sudden temperature change. Cool them more gradually.
- Weeping sugar crust: the custard surface was damp, the layer was too thick, or the kitchen is humid. Blot, go thinner, and torch just before serving.
- Spongy top: foam left on the custard before baking. Skim it properly.
The Checklist, Condensed
Five yolks, 500 ml cream, a modest amount of sugar, vanilla. Steam the cream, temper it slowly, strain, skim. Shallow ramekins in a water bath that reaches halfway up the sides. Bake at 160°C until the centre wobbles as one piece. Cool, then chill overnight. Blot, dust thinly with sugar, and torch until amber. Serve within a few minutes, while the crust still cracks under a spoon.
Do those things in that order and the result is remarkably consistent — which is the whole pleasure of a dessert this simple.
Photo: 10302144 / Pixabay